
How a Blown Film Extrusion Line Works: From Polymer Pellets to Melt
A practical Green Extrusion Technology guide for technical readers who want to understand blown film extrusion, improve process knowledge and evaluate materials before production trials.
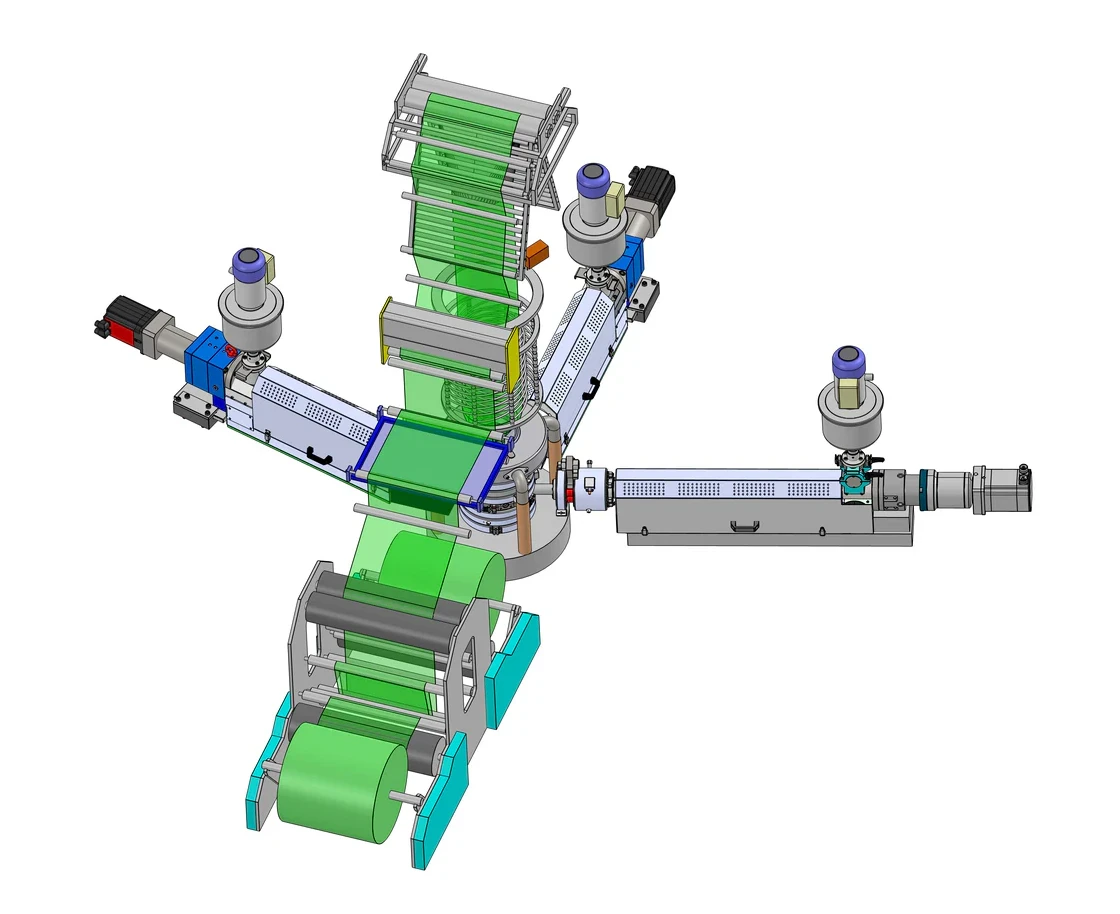
What Part 1 covers
This first article focuses on the beginning of the line, where material preparation and melt quality set the basis for the rest of the process.
- Material loading and preparation
- Conveying and gravimetric dosing
- Extruder screw, barrel and melt formation
- Screen changing, filtration and die head preparation
Blown Film Extruder Explained: 4-Part Series
This connected guide follows the complete process from polymer feeding and melting to bubble control, winding, materials and laboratory testing. Open any part below.
Why this first part of the line matters
The quality of a blown film starts before the bubble is visible. Stable feeding, controlled dosing, correct melting and clean melt filtration are the basis for stable film thickness, good appearance and repeatable mechanical properties.
In a production line, a small variation in feed rate, melt temperature or screen pressure can continue through the die head and appear later as bubble instability, gauge bands, gels, wrinkles or poor roll quality. For this reason, the first section of the line must be understood before the operator starts adjusting the air ring or winder.
This first article explains the material side of the line. The main message is simple: when the polymer is prepared and melted in a controlled way, the whole blown film process becomes easier to control. LabEx laboratory extruders are useful because they allow processors, material suppliers and researchers to test these conditions with small material quantities before using a production line.
The blown film process in simple steps
A blown film line converts polymer pellets, regrind or compound into a thin tubular film. The tube is inflated, cooled, collapsed and wound into rolls. The process looks simple from the outside, but every section of the line influences film quality.
The first part of the line normally includes material storage, conveying, dosing, extruder feeding, screw and barrel melting, filtration, adapter connection and die head preparation. When these steps are stable, the bubble has a better starting point.
The operator should always look at the process as a complete system. The extruder does not only push material forward. It also controls melting, mixing, pressure build-up and residence time. These factors are central for product development, material trials and quality control.
Material loading and preparation
The material can be virgin polymer, recycled pellets, in-house regrind, colour masterbatch, additive masterbatch or a blend. Each material stream must be clean, dry where needed and identified correctly. Wrong material preparation is one of the most common causes of unstable extrusion.
Non-hygroscopic polymers such as PE and PP normally do not need drying under normal storage conditions, but wet regrind, condensation or poor material handling can still create problems. Hygroscopic materials such as PA, PET, EVOH and some compostable compounds require controlled drying before extrusion.
For production and laboratory trials, the material lot, blend ratio, drying record and additive level should be recorded. This makes it possible to compare a good result with a later run and understand what changed.
Key process areas in Part 1
| Process area | What it controls | Typical risk if unstable |
|---|---|---|
| Material preparation | Cleanliness, dryness and correct grade | Gels, bubbles, moisture marks or poor strength |
| Dosing and blending | Recipe accuracy and additive level | Colour variation, seal changes or unstable quality |
| Screw and barrel | Melting, mixing and pressure build-up | Surging, high melt temperature or unmelts |
| Screen changer | Filtration and controlled back pressure | Pressure rise, gels or output loss |
| Die head preparation | Clean and stable melt distribution | Die lines, black specks or flow imbalance |
Conveying and gravimetric dosing
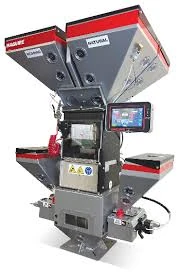
Vacuum conveying brings material from the storage container to the hopper. A simple loader can be sufficient for small laboratory lines, while production lines often use central conveying and gravimetric blending. The important point is that the extruder must receive a stable material flow.
Gravimetric dosing is especially important when masterbatch, additives, regrind or multiple polymers are used. A small error in dosing can change colour, sealability, coefficient of friction, bubble stability or mechanical performance.
For laboratory testing, a controlled dosing system allows the user to compare formulations in a structured way. This is valuable when evaluating recycled content, bio based compounds, masterbatch concentration or new film recipes.
Why it matters: In this early stage of the line, repeatable dosing is one of the fastest ways to improve comparability between trials and reduce avoidable process variation.
Extruder screw, barrel and melting
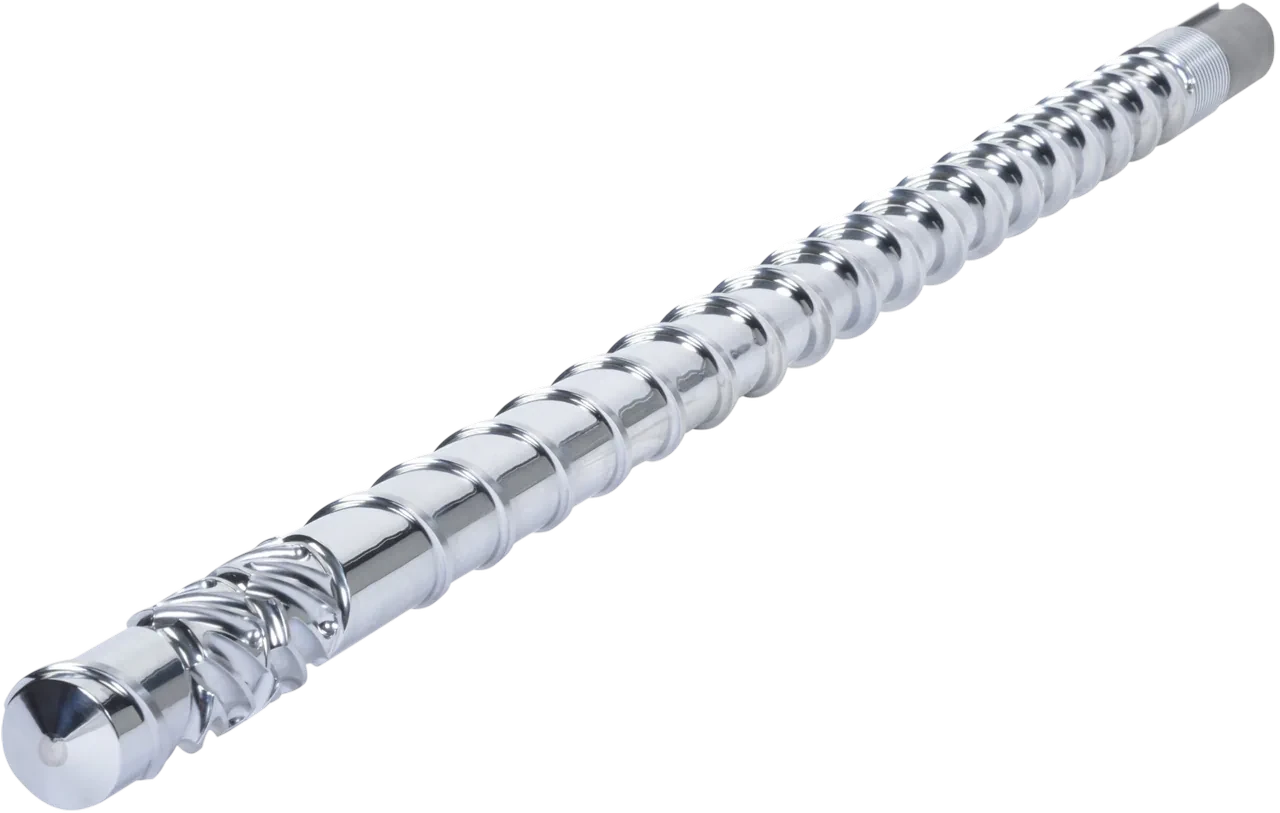
The screw and barrel create the melt. The screw conveys pellets forward, compresses the material, melts it and homogenises the polymer before it reaches the screen changer and die head. The geometry of the screw must fit the material and the intended output range.
Important screw parameters include diameter, L/D ratio, compression ratio, feed section design, metering depth and mixing section. A screw for a small laboratory extruder has a different task than a high-output production screw, but the principles are the same.
The barrel temperature setpoints guide the process, but the real melt temperature depends on the material, screw speed, pressure, shear and residence time. This is why melt temperature should be measured or monitored during serious process trials.
Engineering note: The screw is one of the most influential components in the line because melting quality and pressure stability begin here.
Screen changer and melt filtration
The screen pack removes gels, black specks, contamination and unmelted particles before the melt enters the die. It also creates back pressure, which can improve melting and mixing, but too much pressure can increase melt temperature and reduce output.
Clean virgin materials may need only moderate filtration. Recycled materials and in-house regrind often require stronger filtration and a clear screen-change strategy. A pressure sensor before the screen pack is useful because it shows when contamination is building up.
Laboratory filtration trials help define whether a recycled material can be processed in blown film and what filtration level is realistic. This avoids spending production time on a material that is not yet prepared well enough.
Die head preparation
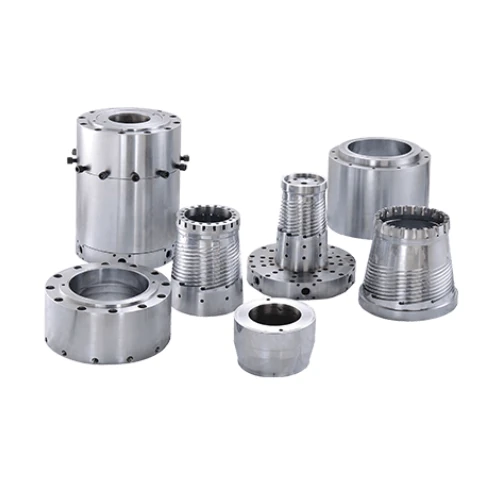
The die head receives the filtered melt and distributes it into an annular flow. A well-prepared die head must be clean, thermally stable and correctly assembled. Die lips, adapters and melt channels should be free from degraded material before a serious trial starts.
For mono-layer film the die receives one melt stream. For multilayer film, each extruder supplies one layer to a die or feedblock arrangement. In both cases, stable temperature and clean flow paths are essential for a stable bubble.
A laboratory die head is especially useful for comparing materials and formulations because it gives a controlled and repeatable test environment with smaller material consumption.
Practical point: Good die head preparation reduces the risk of contamination, unstable flow and unnecessary start-up waste.
LabEx and Multi-X insight
LabEx laboratory extruders are designed for controlled extrusion trials. They are suitable for universities, R&D laboratories, material suppliers and processors that need to test materials, colours, additives and recycled content before running production trials.
Multi-X All-Around Extruders are relevant when the same technical team wants to test more than blown film. They can be used for compact extrusion work involving profiles, strands, rods, small pipe trials or material development projects, depending on the configuration.
Together, LabEx and Multi-X support a practical development workflow: first understand the material, then test the process, then prepare the production line with more confidence.
Common mistakes in the first part of the line
A common mistake is to change die or air ring settings before the material feed and melt pressure are stable. If the extruder is surging, the bubble cannot be stable for long.
Another common mistake is to treat all materials as if they were standard PE. Recycled pellets, bio-based compounds, filled materials and barrier materials may need different drying, temperature and filtration conditions.
A third mistake is to run a new formulation directly on a production line without a small controlled test. LabEx trials help create a practical process window before valuable production time is used.
Develop the process before using production time
Use LabEx laboratory extruders to test material behaviour, masterbatch, additives, recycled content and processing windows in a controlled way before production trials.
Continue the 4-part blown film guide
This article is part of a connected technical series. Use the next articles to understand the full blown film line from pellets to finished film and material testing.
FAQ
What is the first step in blown film extrusion?
The first step is stable material preparation and feeding. The extruder can only create a stable melt when the material stream is correct, clean and consistent.
Why is gravimetric dosing useful?
It controls the amount of each material in the recipe, including masterbatch, additives and recycled content. This improves repeatability during trials and production.
Why is melt filtration important?
Filtration helps remove contamination, gels and unmelted particles before the melt reaches the die head. This improves film appearance and reduces defects.
How can LabEx help before production?
LabEx allows materials and formulations to be tested under controlled laboratory conditions using smaller material quantities before production time is used.
Sources
This article is based on Green Extrusion Technology product knowledge and practical extrusion experience.